Monday, July 6, 2009
Exporting to CAD
For the most part exporting is as easy as 1-2-3. However there are a few things you should be aware of before exporting.
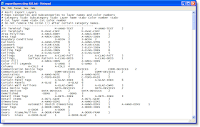
First of all you should make sure the Export Layers txt file is in order. Meaning if you haven't created one for you office, now's the time. It's not too difficult really, all you have to do is follow some basic rules. Revit uses a txt file to map categories and subcategories from Revit to layer names and color numbers in Acad. The format is as follows: Category (tab) Subcategory (tab) Layer name (tab) Color number (tab) Cut Layer name (tab) Cut color number. If there isn't a subcategory then you simply skip it. This is an image of the AIA export layers txt file that comes with Revit. You can always use this one to get started and just save as to create one specific to your office standards.
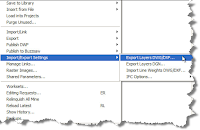
Once you've created the txt file, all you have to do is map the file location in the import/export settings. You do this by clicking the file drop down menu and selecting Import/Export Layers Settings. From there choose the format; DWG/DXF, DGN...
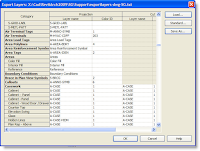
Once you choose you can load the txt file into your project and you'll be able to see the Category and Layer name along with the cooresponding Color ID Number. The cool thing about this txt file is you can save it on your network somewhere and path it to your Revit template so you'll never have to do this again.
Subscribe to:
Post Comments (Atom)
Welcome to revitED!
RevitED (Revit Education) and general BIM topics. I've been using Revit now for 11 years, and though I feel I've got a pretty good handle on the software it seems each day I learn something new. I want to share that with the readers of this blog and hope you learn something new as well.
No comments:
Post a Comment